Get on on a ride through the cosmic wonders of Starfield, where cheat codes are the key to revealing unimaginable latent. In this guide, we’ll delve into the workings of ‘Starfield Cheat Engine‘, close-fitting the enigmas that can elevate your gaming practice to new heights.
| [ez-toc] |
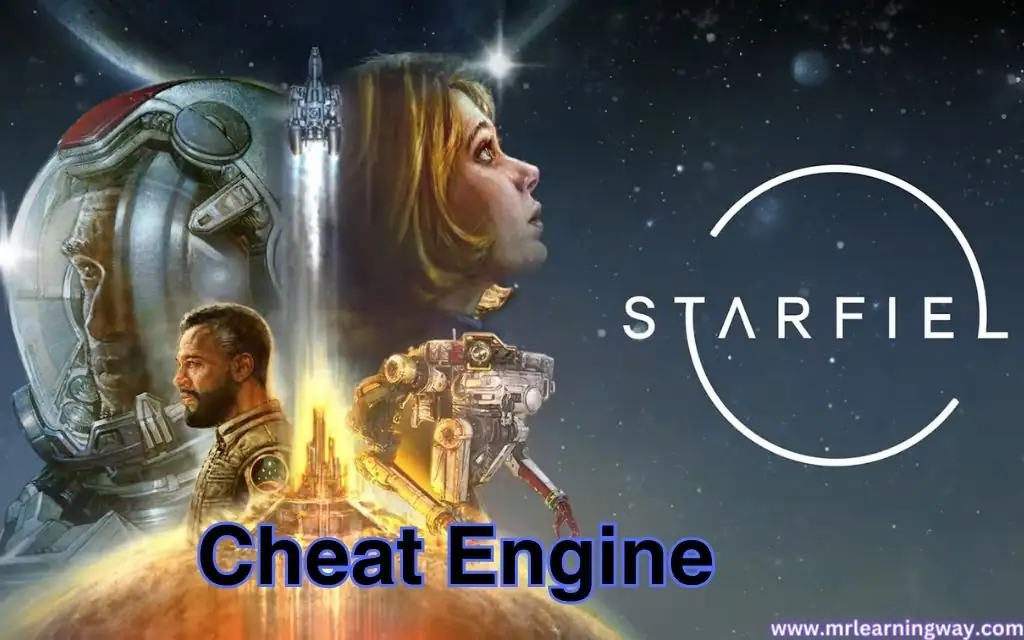
What is Starfield Cheat Engine?
Starfield Cheat Engine is a game-changer, so long as players with the ability to deploy various aspects of the game. From unrestrained incomes to supercharged spaceships, these cheat engine codes open exits to a galaxy of options. It’s not just about laying a bet; it’s about crafting your unique journey in the hugeness of space.
How to fix Starfield Cheat Engine
1.Download and install Starfield cheat engine
- Go to Browser and click to open it.
- Search the Cheat Engine.exe this website.

- Show the download and install the Cheat Engine software.
- Restart your device.
2.Launch and Use starfield Cheat Engine
- Open the Starfield game on your PC.
- Run the Cheat Engine software.
- Click on the computer icon in the top-left corner of the Cheat Engine window.

- Select the Starfield game process.
- The main window displays a list of processes.
- Find the Starfield game is selected.
- Browse through the available cheats in the Cheat Engine.
- Choose the ones you want to apply to your game.
- Common cheats include unlimited resources, health, or in-game currency.
Conclusion
In this cosmic journey, we’ve uncovered the secrets of Starfield Cheat Engine. From inestimable resources to multiplayer fairy-tale, cheat codes redefine your gaming experience. As you get on on your interstellar journey, reminisce that the universe of backing is ever-intensifying, and so are the possibilities with Starfield Cheat Engine.
FAQs: Getting to Know Starfield Cheats
How Can I Safely Use Cheat Codes?
Safely using cheat codes contains understanding the game’s relations of deal and using codes from reputable sources. Avoid mean codes, and use cheats dutifully to enhance, not exploit, your gaming practice.
Are Cheat Codes Detected by Games?
Game inventers employ various detection dealings. While some cheats may go invisible, using them comes with risks. Stay learnt round game policies and potential values.
Can Cheat Codes Enhance Graphics?
Cheat codes mostly affect gameplay mechanics, not pictures. They are designed to modify game structures, such as resources or skills, rather than visual basics.
How to Troubleshoot Cheat Code Issues?
If you meet issues with cheat codes, verify the code’s accuracy, ensure compatibility with your game version, and check for differing codes. If hitches persist, consult online forums or funding.
Are Starfield Cheat Codes Legal?
Authenticity varies; some games Starfield certificate cheat codes, while others prohibit them. Explain yourself with the game’s terms of service. Using cheats in multiplayer modes may opening terms and lead to moments.