Imagine the Microsoft Catalog as a digital peach trove of updates for your Windows operating system. Different automatic updates, this manual method provides more control and you’re customization windows update options. Let’s delve into the creation of Microsoft Catalog update windows 11 and understand why they’re wealth exploring.
Understanding the Windows Update Catalog
The microsoft Update Catalog is a central hub where Microsoft combines all its updates. It’s like a library where you can choose the updates your system needs, ensuring a personalized and efficient update process.
Navigating the Microsoft Update Catalog Website
How to navigate the Microsoft Update Catalog website?
Think of the Microsoft Update Catalog website as a virtual spending mall for your Windows updates. We’ll guide you through the user-friendly edge, helping you find and download the updates you need disturbance-free.dj
- Open your browser and search the Microsoft Update Catalog
- Use the search bar on the website. You can search by the update KB number or use keywords related to the update.(ex KB568959).

- Browse through the search results to find the specific update. Click on the update to view more details.

- Click the “Add” button next to the update you want to download.
- Once you have added all the updates, click on the download icon in the upper right corner.
- Download basket and click the “Download” button.
- Choose a location on your computer and save the updates, and then click the Continue button.
- Once the download is complete, you can use the downloaded files to update your Windows system.
Windows 10 Update Download: Step by Step Guide
Board on a journey to keep your Windows 10 system up to date. Follow our simple yet complete guide, confirming a smooth and error-free download process.

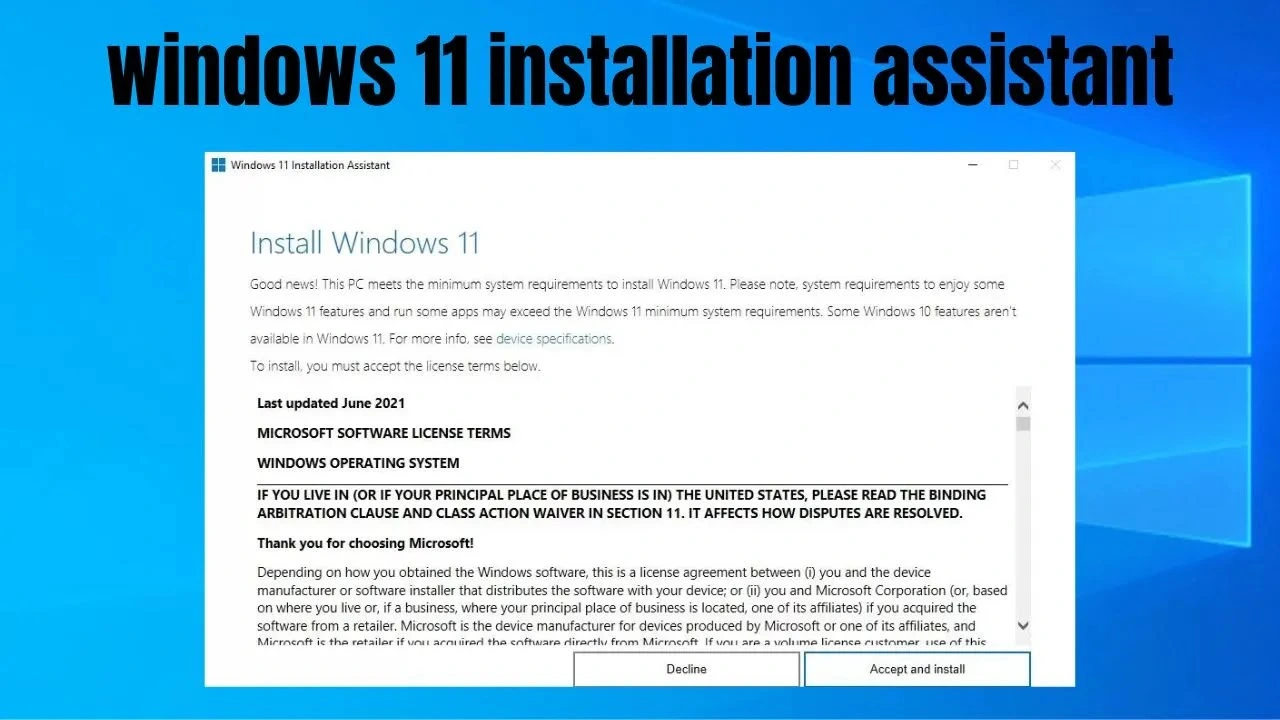
Deciphering Cumulative Updates for Windows 11
Unlock the confidences of cumulative updates for Windows 11, understanding their significance and how they improve your system’s performance and security.

Exploring the Windows Catalog: A User-Friendly Approach
Explore the spontaneous nature of the Windows Catalog, planned with users in mind. We’ll walk you finished its features, making your update experience unified.
MS Update Catalog: What Sets It Apart?
Joint into the unique features of the MS Update Catalog that make it stand out. Discover the advantages it offers for a personalized and efficient update process.
Best practices for a smooth Microsoft Update download.
Discover the best performs for downloading updates from Microsoft. From scheduling updates to optimizing download speed, we’ve grew you covered.
Windows Catalog vs. Microsoft Catalog: Unveiling the Differences
Are the Windows Catalog and Microsoft Catalog the same?
Explain the confusion between the Windows Catalog and Microsoft update Catalog. Understand the differences and choose the right stand for your updating needs.
Windows Catalog Updates: Why They Matter
Explore the importance of repeatedly updating your Windows Catalog. From security improvements to performance boosts, discover why updates matter.
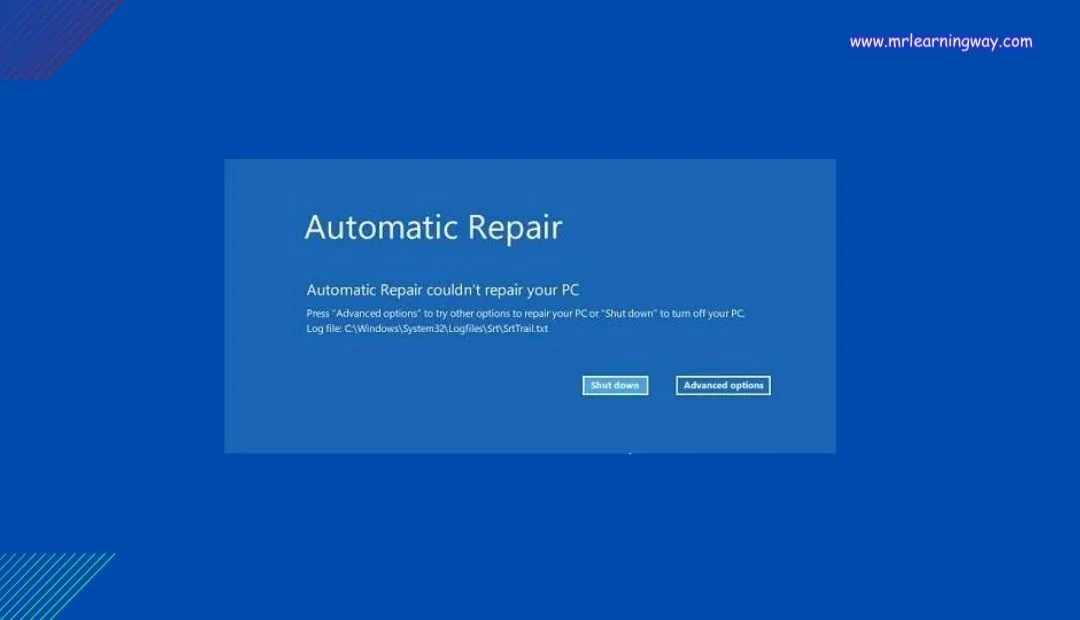
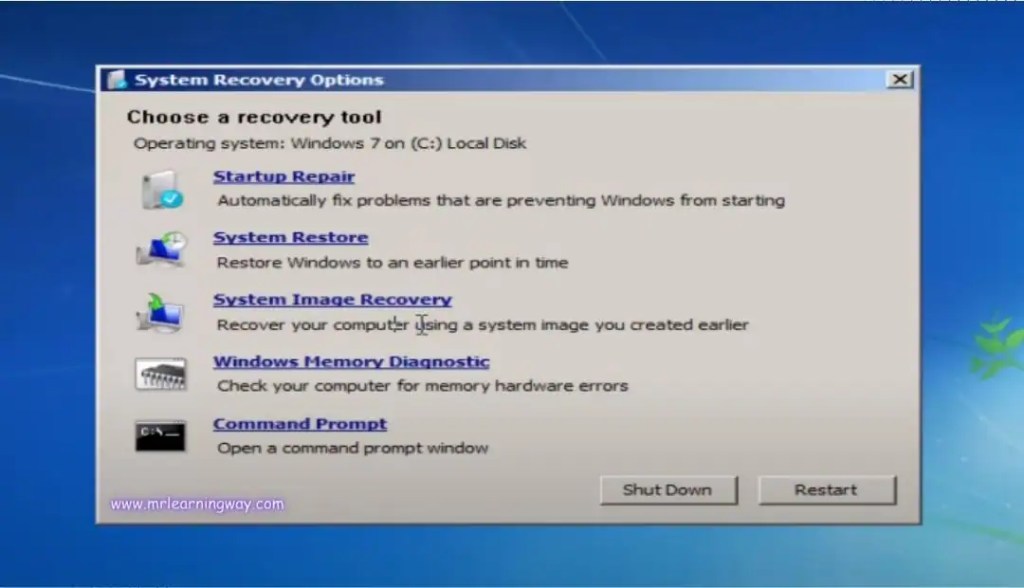
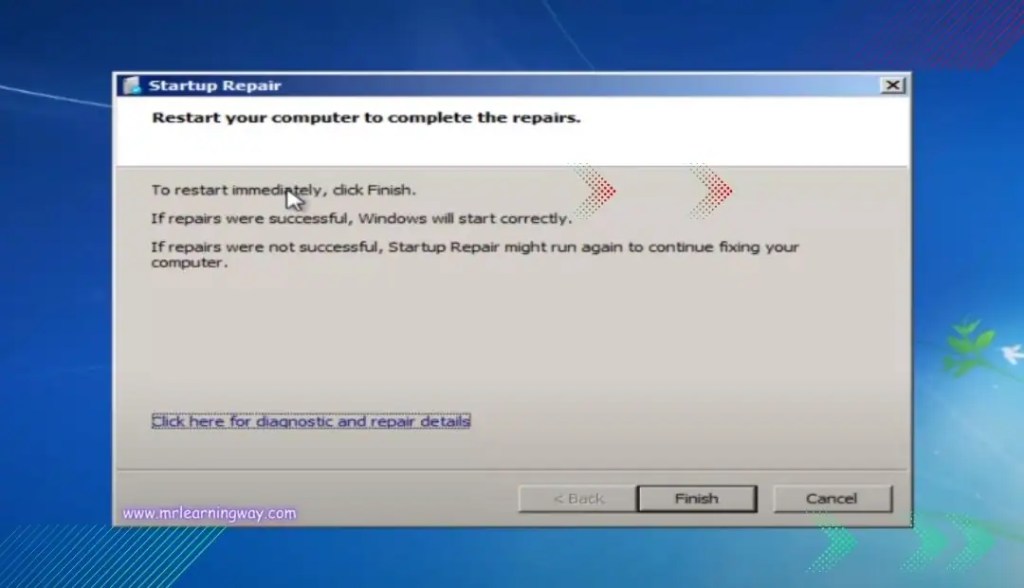
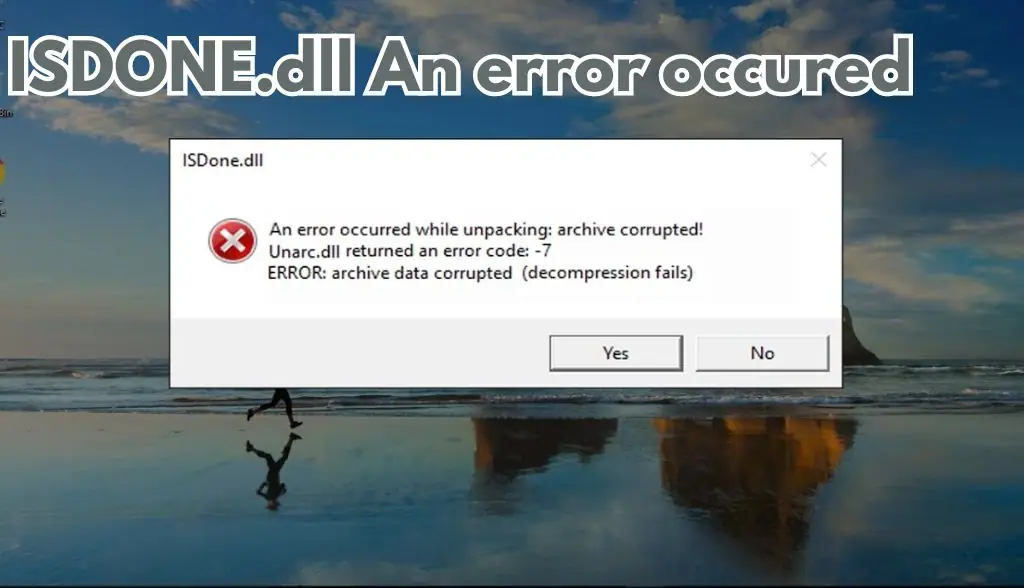
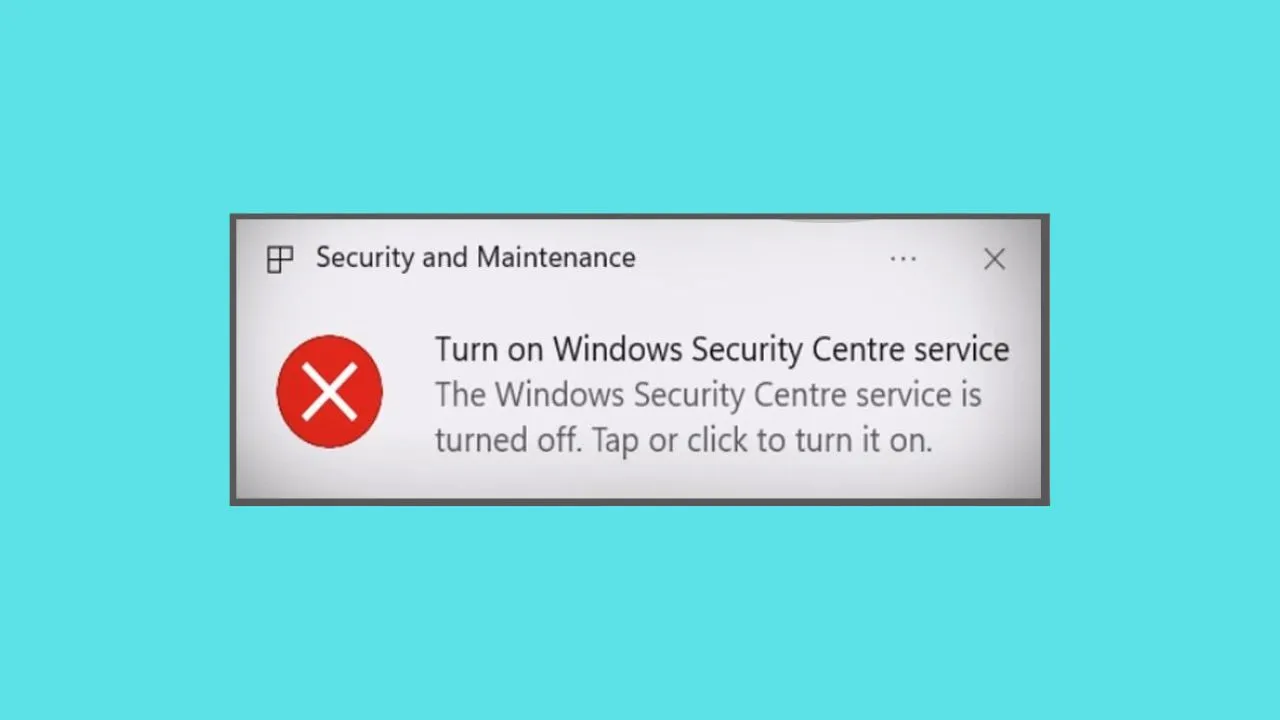
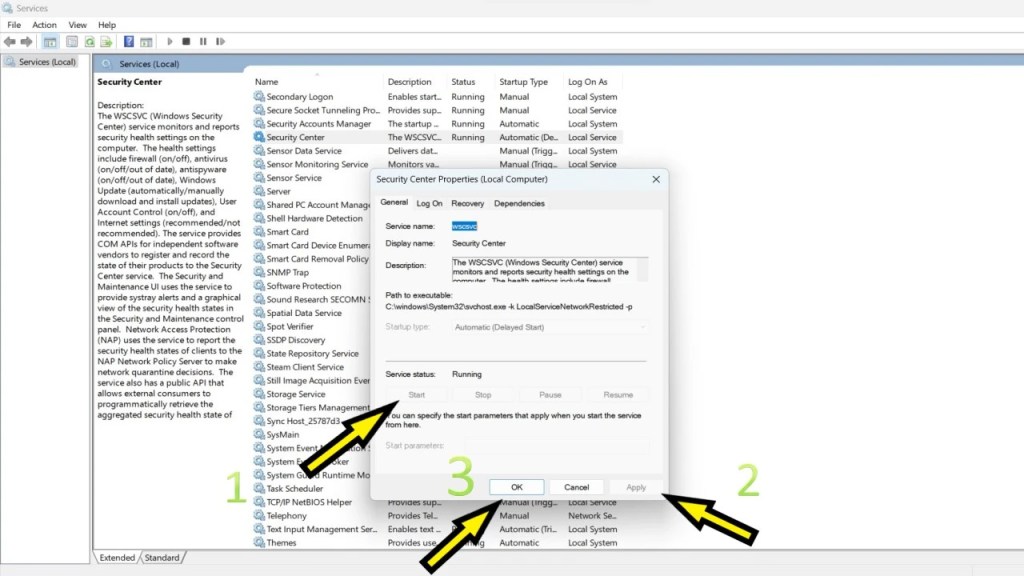
Troubleshooting Common Issues with Windows Catalog Updates
Navigate common sprints with Windows Catalog updates. Our troubleshooting guide will help you overcome bugs and ensure a smooth update process.
Conclusion: Keeping Your Windows Update and Secure
In conclusion, mastering the painting of downloading Windows updates from the catalog is your entry to a secure and optimized operating system. By taking control of the update process, you ensure your Windows experience is handmade to your needs. Stay informed, stay updated, and keep your digital world running effortlessly.
Frequently Asked Questions
- How often should I check for Windows updates from the catalog? Regularly checking for updates is wise, at least once a month. Keeping your system updated improves security and performance.
- Can I download updates from the Microsoft Update Catalog on any Windows version? Yes, the Microsoft Update Catalog is compatible with several Windows versions, ensuring everyone can profit from manual updates.
- Are cumulative updates essential for Windows 11 users? Absolutely. Cumulative updates for Windows 11 bring not only new features but also crucial security improvements and bug fixes.
- What if I encounter errors during the update download process? If you face errors, check your internet connection, briefly disable antivirus software, and confirm your system meets the update requirements.
- Why should I prefer manual updates from the catalog over automatic updates? Manual updates offer more control and customization options. You can choose specific updates and ensure they don’t affect with your workflow.