

KB5072033 not installing fix on Windows 11. Learn how to resolve cumulative and security update installation errors easily.

Ashes of Creation UE crash fix. Resolve Unreal process crashed, GPU crash dump triggered, and out of video memory errors on PC.

The Outlast Trials not launching fix on PC. Solve crashing, startup crash, freezing, not loading, and black screen issues easily.
PUBG Black Budget FPS drops fix. Learn how to reduce lag, stuttering, and boost FPS for smoother gameplay on PC.
Monster Hunter Wilds performance fix on PC. Boost FPS, reduce stuttering, lag, and improve smooth gameplay with proven tweaks.
Monster Hunter Wilds not launching fix on PC Steam. Learn how to solve startup, crashing, and launch issues with easy steps.
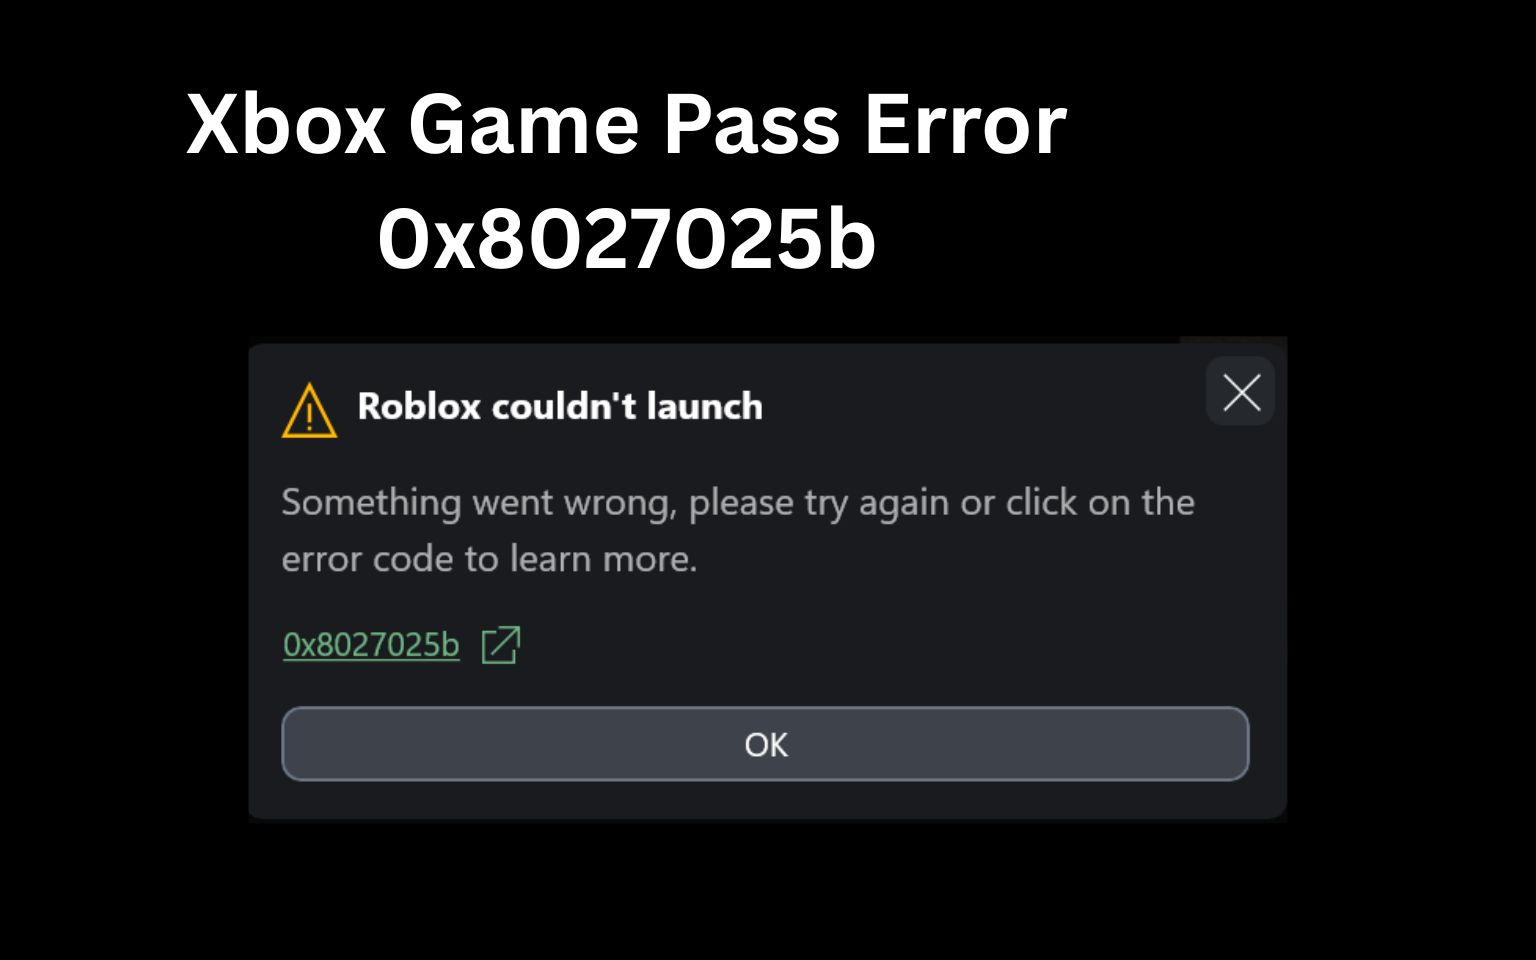
Xbox Game Pass error 0x8027025b fix. Resolve games not launching issue on PC with proven troubleshooting steps and solutions.
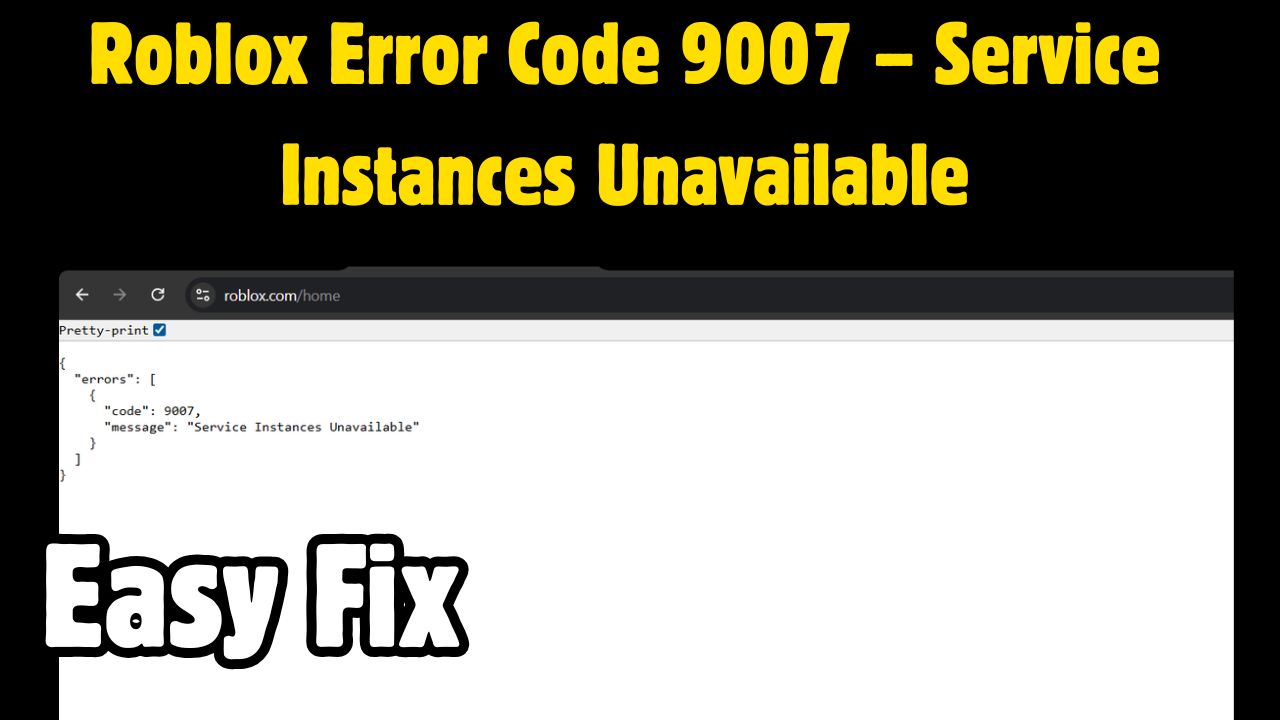
Fix Roblox error code 9007 caused by service instances unavailable. Step-by-step guide to restore server access on PC, Android, and iOS.
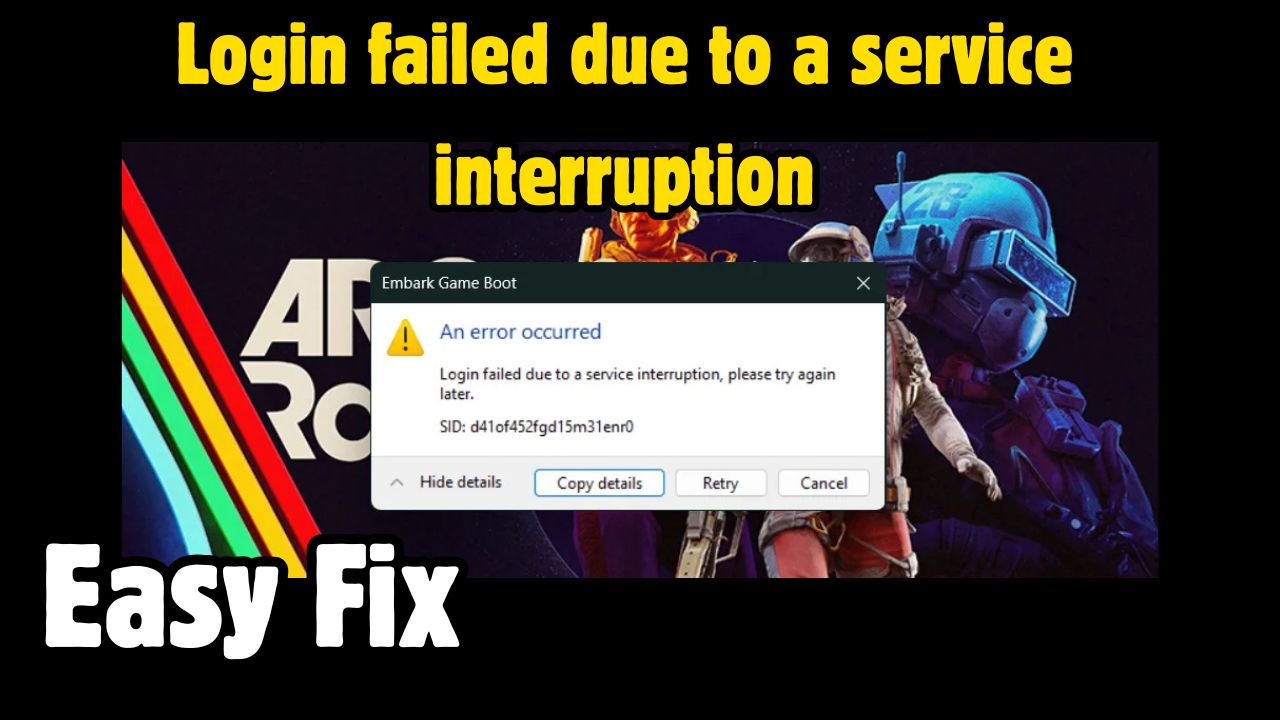
ARC Raiders login failed error fix. Solve service interruption issues and get back into the game with easy PC troubleshooting steps.
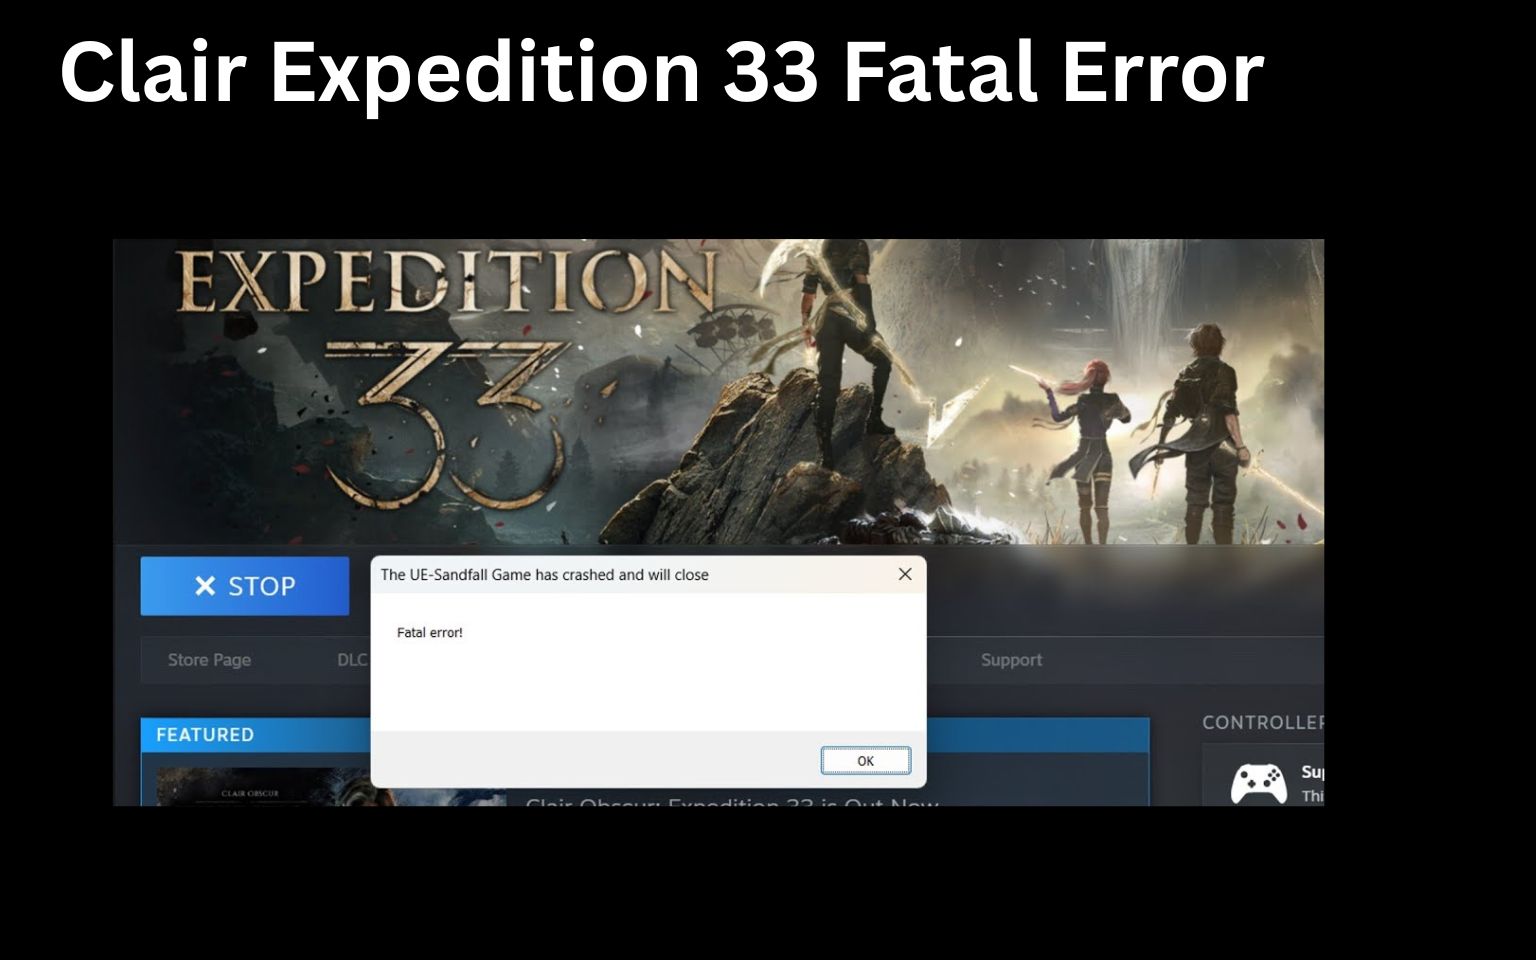
Clair Expedition 33 fatal error fix. Learn how to solve fatal error crashes and launch issues on PC with step-by-step solutions.